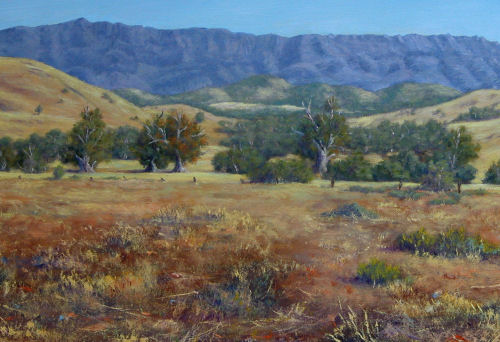
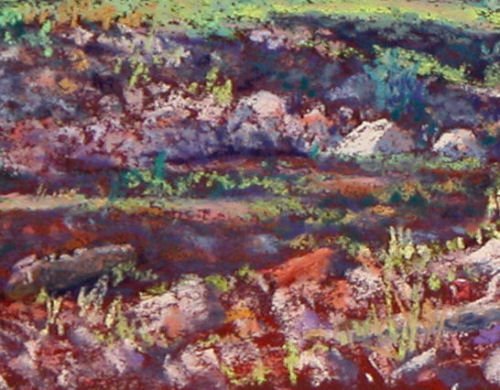
Water's Path - Willochra Creek
Pastel
Copyright Susan Borgas
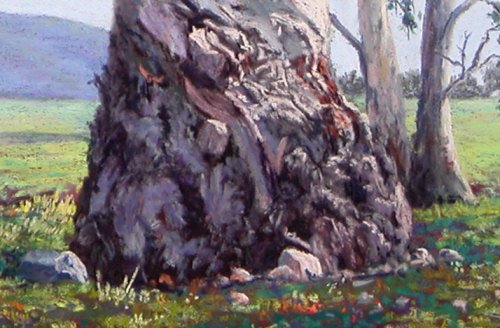
'Completed' is part of the title but as I look at my monitor I see straight away a problem with the reflection where there is a sharp edge of light just to the left of the large curled root. I think some movement of water to take that straight edge off would benefit this area greatly.
Since my last posting the area of the shaded stones and tallish grass to the right has been completed. Also the remainder of the right hand side bank that is in light has now had dry leaf litter and grasses added. Water is finished other than a little adjustment on that light area that I spoke about. Twigs have been placed in the canopy as well as any other minor adjustments that needed doing.
There will be no further images of this painting on my blog although a new photo of the work will be placed on my website just prior to framing.
To make it easier to find the steps to "Water's Path - Willochra Creek" from past postings on this blog, the links are below.
Quick Links
 technorati tags: landscape, large trees, pastel, water scene, WIP, art, artist